ubuntu安装最新稳定版nginx
记录ubuntu18.04安装最新的nginx版本教程
卸载已安装的nginx
1 | apt-get --purge remove nginx nginx-common nginx-core |
使用上述命令卸载nginx相关组件以及配置文件,注意提前对现有配置文件做好备份。
nginx相关介绍
nginx版本
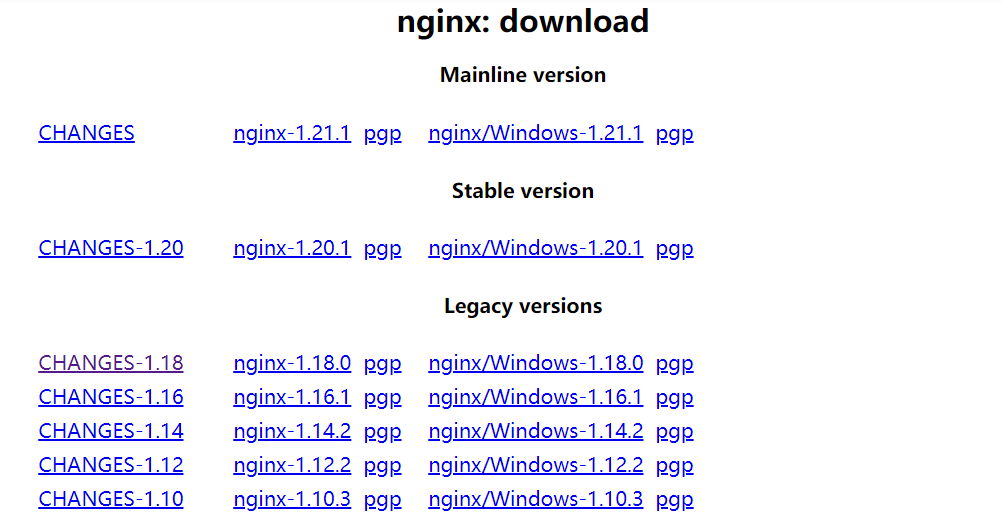
官网下载地址:http://nginx.org/en/download.html ,打开如下图所示。
版本说明:
- mainline version: 正在开发的版本
- stable version: 稳定版
- legacy version: 历史版本

nginx支持的linux发行版本
网址:http://nginx.org/en/linux_packages.html#stable

上图中不同ubuntu版本后面的bionic、focal和hirsute是Codename。
查看我们当前ubuntu的版本及其codename
1 | lsb_release -a |

安装nginx
第一步需要添加nginx公钥,执行以下命令
1 | sudo wget http://nginx.org/keys/nginx_signing.key |
第二步将nginx源添加到apt源中,编辑文件/etc/apt/sources.list,插入以下内容。
1 | deb http://nginx.org/packages/ubuntu/ <codename> nginx |
注意上面的codename需要改成对应ubuntu系统的codename,对于ubntu18.04,就是添加下面的内容
1 | deb http://nginx.org/packages/ubuntu/ bionic nginx |
第三步更新源并安装nginx
1 | sudo apt-get update |
如果报错如下:
1 | N: Skipping acquire of configured file 'nginx/binary-i386/Packages' as repository 'http://nginx.org/packages/ubuntu focal InRelease' doesn't support architecture 'i386' |
改成如下格式:
1 | deb [arch=amd64] http://nginx.org/packages/ubuntu/ <codename> nginx |
最后查看安装后的nginx版本
1 | nginx -v |